

Getting Started with EmDash
This guide walks you through creating your first EmDash site, from installation to publishing your first post.
If you are still evaluating whether EmDash is the right Astro CMS, start with What Is EmDash? or Best Astro CMS and then come back to this setup guide.
Prerequisites
Section titled “Prerequisites”- Node.js v22.12.0 or higher (odd-numbered versions are not supported)
- npm, pnpm, or yarn
- A code editor (VS Code recommended)
Create a New Project
Section titled “Create a New Project”npm create emdash@latestpnpm create emdash@latestyarn create emdashFollow the prompts to name your project and set up your preferences.
Start the Development Server
Section titled “Start the Development Server”-
Navigate to your project directory:
Terminal window cd my-emdash-site -
Install dependencies:
Terminal window npm install -
Start the dev server:
Terminal window npm run dev -
Open your browser to
http://localhost:4321
Complete the Setup Wizard
Section titled “Complete the Setup Wizard”When you first visit the admin panel, EmDash’s Setup Wizard guides you through initial configuration:
-
Navigate to
http://localhost:4321/_emdash/admin -
You’ll be redirected to the Setup Wizard. Enter:
- Site Title — Your site’s name
- Tagline — A short description
- Admin Email — Your email address
-
Click Create Site to register your passkey
-
Your browser will prompt you to create a passkey using Touch ID, Face ID, Windows Hello, or a security key
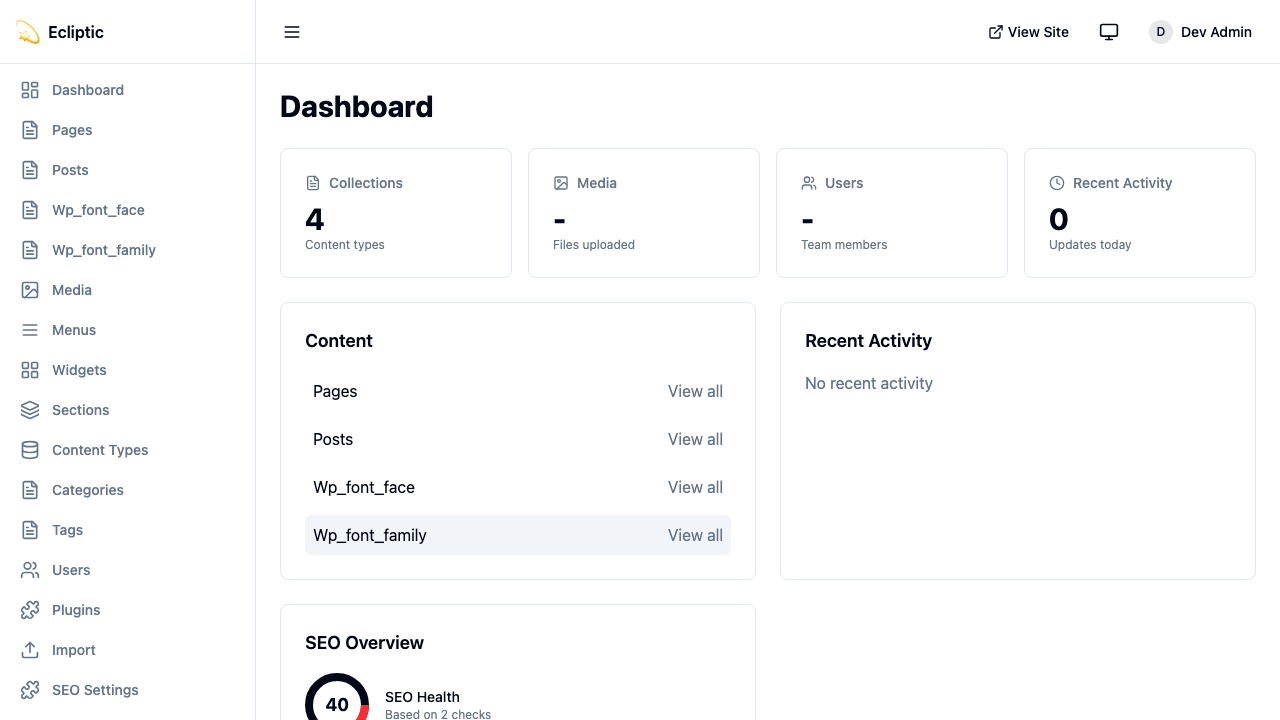
Once your passkey is registered, you’re logged in and redirected to the admin dashboard.
Your First Post
Section titled “Your First Post”-
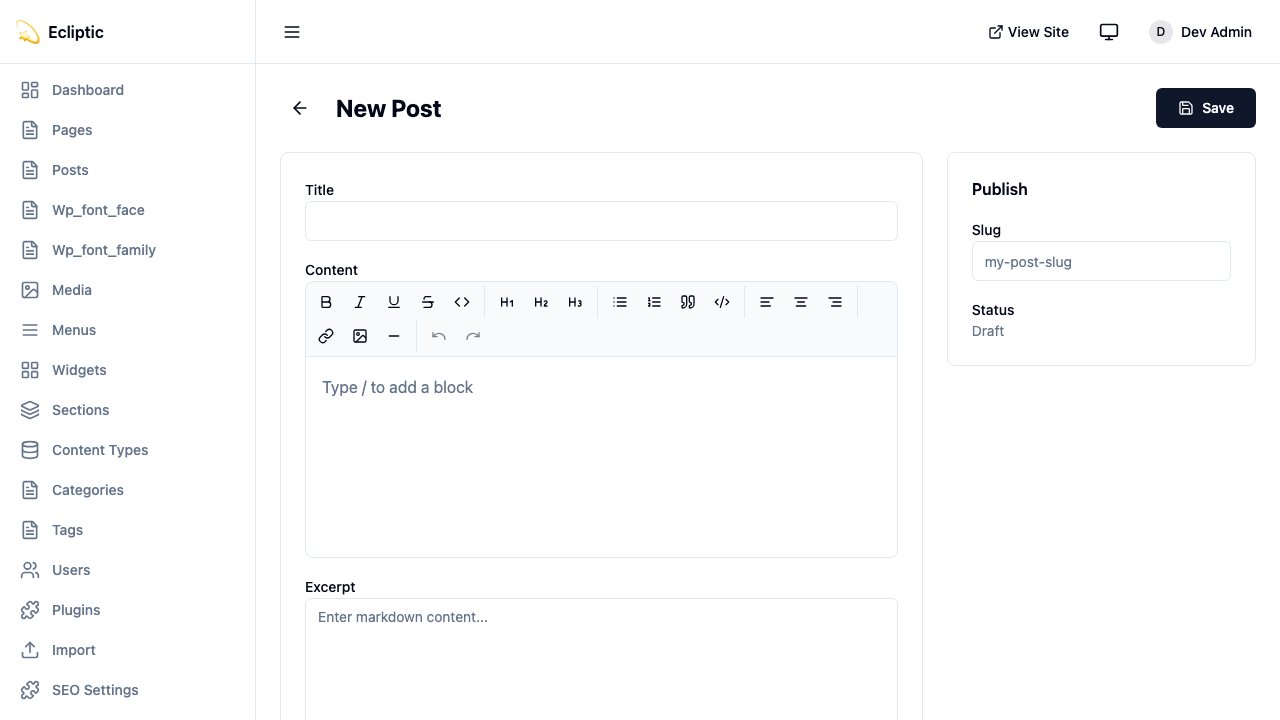
In the admin sidebar, click Posts under Content.
-
Click New Post.
-
Enter a title and write some content using the rich text editor.
-
Set the status to Published and click Save.
-
Visit your site’s homepage to see your post live—no rebuild needed!
Project Structure
Section titled “Project Structure”Your EmDash project follows a standard Astro structure with a few additions:
my-emdash-site/├── astro.config.mjs # Astro + EmDash configuration├── src/│ ├── live.config.ts # Live Collections configuration│ ├── pages/│ │ ├── index.astro # Homepage│ │ └── posts/│ │ └── [...slug].astro # Dynamic post pages│ ├── layouts/│ │ └── Base.astro # Base layout│ └── components/ # Your Astro components├── .emdash/│ ├── seed.json # Template seed file│ └── types.ts # Generated TypeScript types└── package.jsonConfiguration Files
Section titled “Configuration Files”astro.config.mjs
Section titled “astro.config.mjs”This configures EmDash as an Astro integration:
import { defineConfig } from "astro/config";import emdash, { local } from "emdash/astro";import { sqlite } from "emdash/db";
export default defineConfig({  integrations: [    emdash({      database: sqlite({ url: "file:./data.db" }),      storage: local({        directory: "./uploads",        baseUrl: "/_emdash/api/media/file",      }),    }),  ],});
src/live.config.ts
Section titled “src/live.config.ts”This connects EmDash to Astro’s content system:
import { defineLiveCollection } from "astro:content";import { emdashLoader } from "emdash/runtime";
export const collections = { _emdash: defineLiveCollection({ loader: emdashLoader() }),};Environment Variables
Section titled “Environment Variables”For production deployments, you’ll need to set:
# Required for authenticationEMDASH_AUTH_SECRET=your-secret-here
# Optional: for content previewEMDASH_PREVIEW_SECRET=your-preview-secret
Generate a secure auth secret with:
npx emdash auth secretQuery Content in Pages
Section titled “Query Content in Pages”Use EmDash’s query functions in your Astro pages. These follow Astro’s live collections pattern, returning { entries, error } for collections and { entry, error } for single entries:
---import { getEmDashCollection } from "emdash";import Base from "../layouts/Base.astro";
const { entries: posts } = await getEmDashCollection("posts");---
<Base title="Home">  <h1>Latest Posts</h1>  <ul>    {posts.map((post) => (      <li>        <a href={`/posts/${post.slug}`}>{post.data.title}</a>      </li>    ))}  </ul></Base>
For single entries:
---import { getEmDashEntry } from "emdash";
const { slug } = Astro.params;const { entry: post } = await getEmDashEntry("posts", slug);
if (!post) {  return Astro.redirect("/404");}---
<h1>{post.data.title}</h1>
Generate TypeScript Types
Section titled “Generate TypeScript Types”For full type safety, generate types from your database schema:
npx emdash typesThis creates .emdash/types.ts with interfaces for all your collections. Your editor will now autocomplete field names and catch type errors.
Next Steps
Section titled “Next Steps”You now have a working EmDash site! Here’s where to go next:
- Core Concepts — Understand how EmDash works under the hood
- Working with Content — Learn to query and render content
- Media Library — Upload and manage images and files
- Create a Blog — Build a complete blog with categories and tags
- Deploy to Cloudflare — Take your site to production