

EmDash 快速开始
本指南将带你创建第一个 EmDash 站点,从安装到发布第一篇文章。
如果你还在判断 EmDash 是否适合你的 Astro 项目,建议先阅读 什么是 EmDash? 或 Astro CMS 该怎么选?,再回来继续完成安装。
- Node.js v22.12.0 或更高版本(不支持奇数版本)
- npm、pnpm 或 yarn
- 一个代码编辑器(推荐 VS Code)
npm create emdash@latestpnpm create emdash@latestyarn create emdash按照提示命名你的项目并设置偏好。
启动开发服务器
Section titled “启动开发服务器”-
进入你的项目目录:
Terminal window cd my-emdash-site -
安装依赖:
Terminal window npm install -
启动开发服务器:
Terminal window npm run dev -
在浏览器中打开
http://localhost:4321
完成设置向导
Section titled “完成设置向导”首次访问管理面板时,EmDash 的设置向导会引导你完成初始配置:
-
访问
http://localhost:4321/_emdash/admin -
你将被重定向到设置向导。输入:
- 站点标题 — 你的站点名称
- 标语 — 简短描述
- 管理员邮箱 — 你的邮箱地址
-
点击 创建站点 以注册你的通行密钥
-
你的浏览器将提示你使用Touch ID、Face ID、Windows Hello或安全密钥创建通行密钥
通行密钥注册成功后,你将自动登录并重定向到管理仪表板。
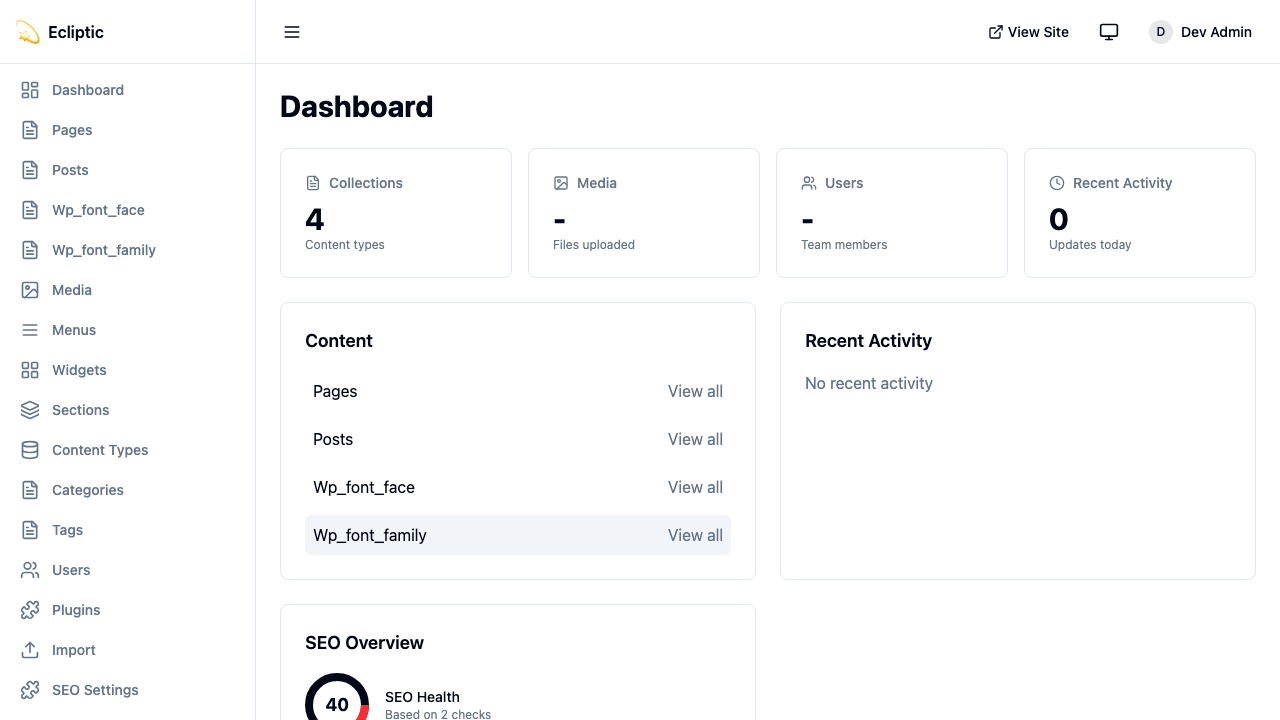
发布第一篇文章
Section titled “发布第一篇文章”-
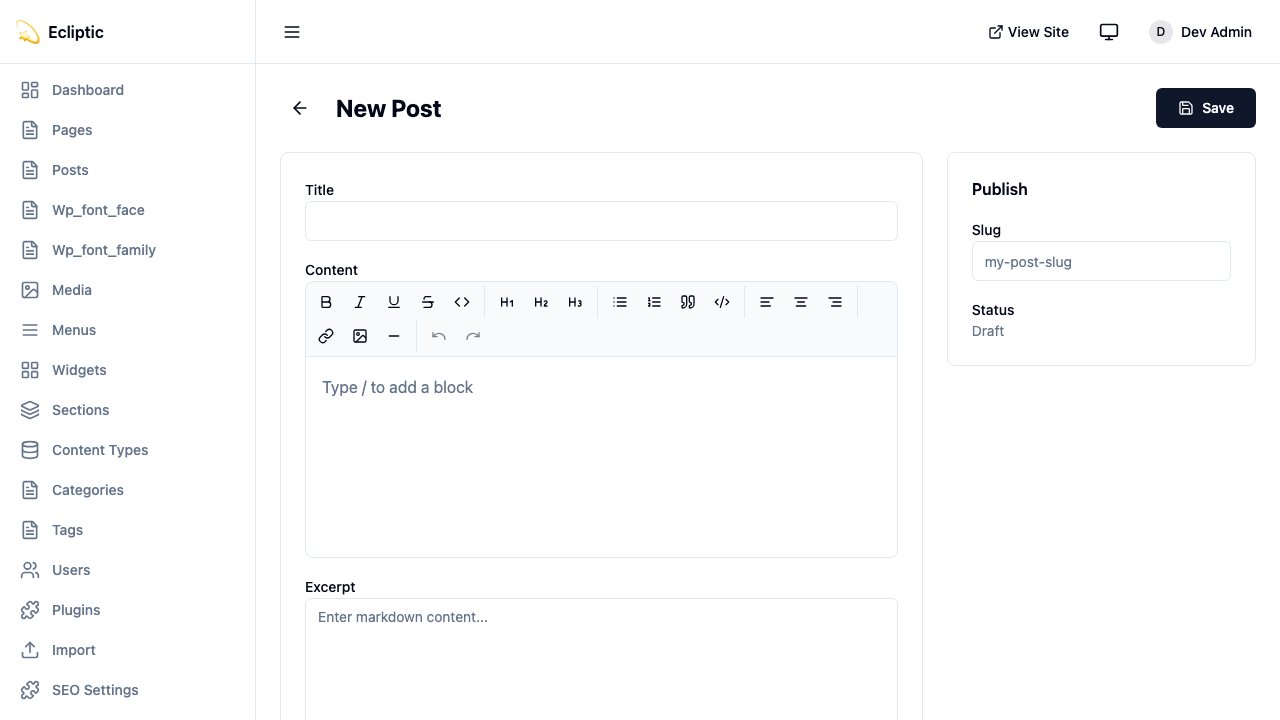
在管理侧边栏的“内容”下,点击 文章。
-
点击 新建文章。
-
输入标题,并使用富文本编辑器撰写内容。
-
将状态设置为 已发布 并点击 保存。
-
访问你的站点首页即可看到文章实时发布——无需重新构建!
你的 EmDash 项目遵循标准的 Astro 目录结构,只是多了几处与 EmDash 相关的配置:
my-emdash-site/├── astro.config.mjs # Astro + EmDash configuration├── src/│ ├── live.config.ts # Live Collections configuration│ ├── pages/│ │ ├── index.astro # Homepage│ │ └── posts/│ │ └── [...slug].astro # Dynamic post pages│ ├── layouts/│ │ └── Base.astro # Base layout│ └── components/ # Your Astro components├── .emdash/│ ├── seed.json # Template seed file│ └── types.ts # Generated TypeScript types└── package.jsonastro.config.mjs
Section titled “astro.config.mjs”这个文件用于把 EmDash 配置为 Astro 集成:
import { defineConfig } from "astro/config";import emdash, { local } from "emdash/astro";import { sqlite } from "emdash/db";
export default defineConfig({  integrations: [    emdash({      database: sqlite({ url: "file:./data.db" }),      storage: local({        directory: "./uploads",        baseUrl: "/_emdash/api/media/file",      }),    }),  ],});
src/live.config.ts
Section titled “src/live.config.ts”这个文件用于把 EmDash 接入 Astro 的内容系统:
import { defineLiveCollection } from "astro:content";import { emdashLoader } from "emdash/runtime";
export const collections = { _emdash: defineLiveCollection({ loader: emdashLoader() }),};对于生产部署,你需要设置:
# Required for authenticationEMDASH_AUTH_SECRET=your-secret-here
# Optional: for content previewEMDASH_PREVIEW_SECRET=your-preview-secret
使用以下命令生成安全的认证密钥:
npx emdash auth secret在页面中查询内容
Section titled “在页面中查询内容”你可以在 Astro 页面中使用 EmDash 的查询函数。这些函数遵循 Astro 的实时集合模式:查询集合返回 { entries, error },查询单条内容返回 { entry, error }:
---import { getEmDashCollection } from "emdash";import Base from "../layouts/Base.astro";
const { entries: posts } = await getEmDashCollection("posts");---
<Base title="Home">  <h1>Latest Posts</h1>  <ul>    {posts.map((post) => (      <li>        <a href={`/posts/${post.slug}`}>{post.data.title}</a>      </li>    ))}  </ul></Base>
对于单个条目:
---import { getEmDashEntry } from "emdash";
const { slug } = Astro.params;const { entry: post } = await getEmDashEntry("posts", slug);
if (!post) {  return Astro.redirect("/404");}---
<h1>{post.data.title}</h1>
生成TypeScript类型
Section titled “生成TypeScript类型”为了获得完整的类型安全,请根据数据库中的内容模型生成类型:
npx emdash types这会在 .emdash/types.ts 中生成包含所有集合接口的类型文件。随后编辑器就能自动补全字段名,并提示类型错误。
现在你已经拥有一个可运行的 EmDash 站点了。接下来可以继续阅读:
- 核心概念 — 了解EmDash的内部工作原理
- 处理内容 — 学习查询和渲染内容
- 媒体库 — 上传和管理图片及文件
- 创建博客 — 构建一个包含分类和标签的完整博客
- 部署到Cloudflare — 将你的站点部署到生产环境